search 

search

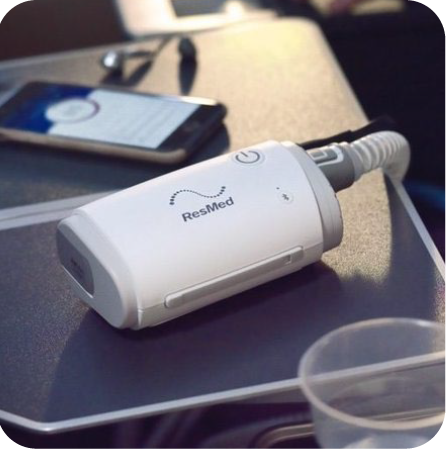
Portable^
A small CPAP in comparison to other ResMed models
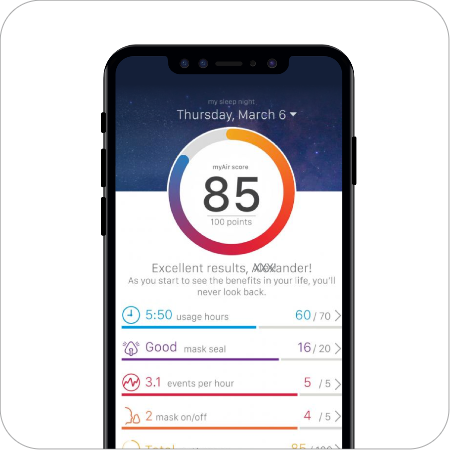
Convenient control with the AirMini app
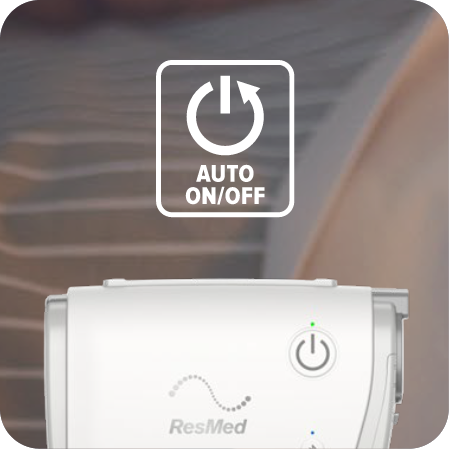
Start and stop automatically respectively when you breathe into your mask (SmartStart) and remove your mask (SmartStop)
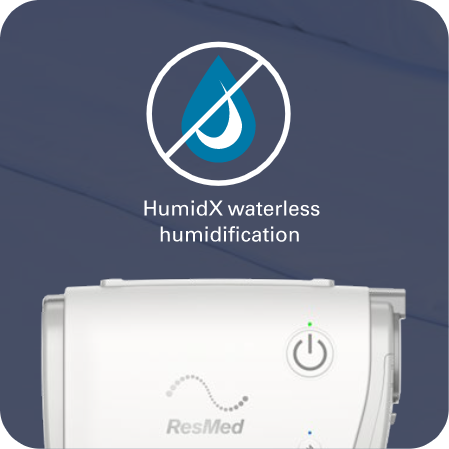
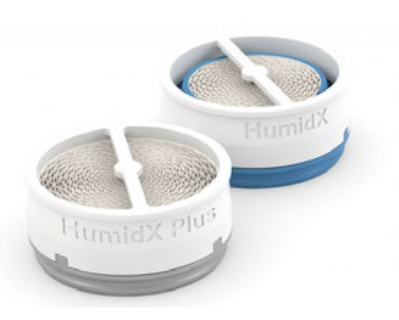
The AirMini™ system uses a waterless humidifier that is designed to provide more comfort to your therapy. This will improve the moisture level in the air you breathe.
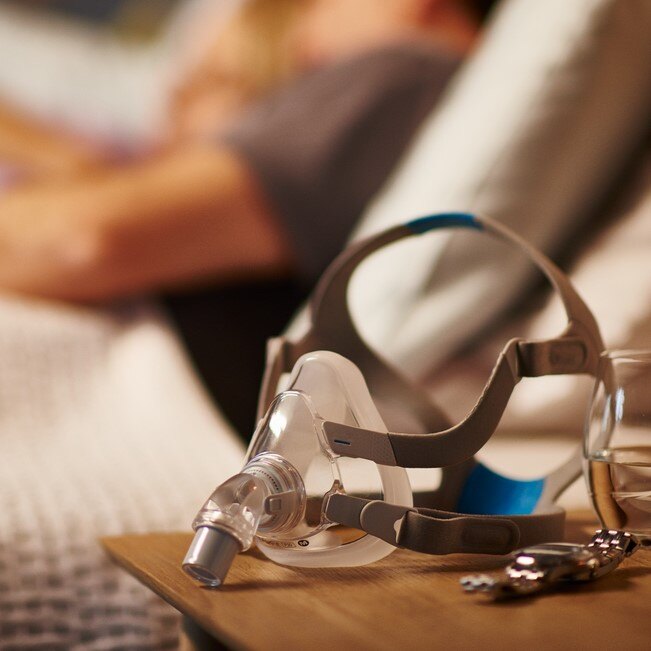
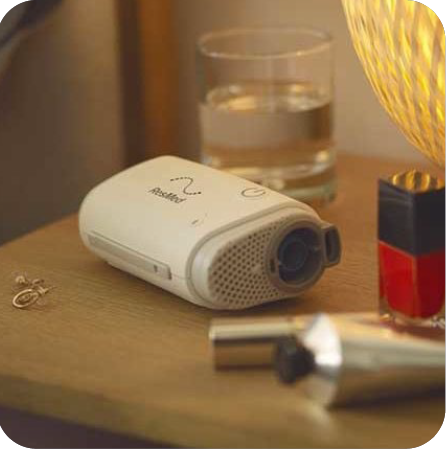
Designed to work with ResMed CPAP masks: AirFit™ P10 for AirMini, AirFit N20, AirFit F20, AirFit N30 and AirTouch™ F20
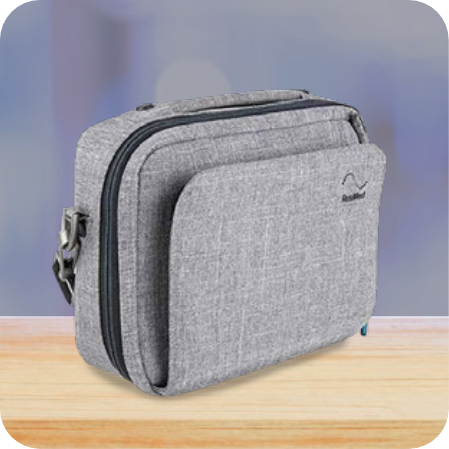
Travel bag
CPAP
APAP

Consistent pressure
CPAP is a fixed-pressure mode
which means it delivers a consistent airflow pressure that is set by your doctor.

Auto-adjusting pressure
APAP is an auto-adjusting mode
that change airflow pressure levels based on your needs.
No, the AirMini does not have a battery. It must be plugged into power to operate.
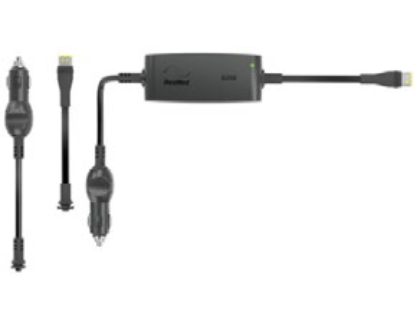
The AirMini DC/DC converter 65W allows you to operate your AirMini from a cigarette lighter socket (12V or 24V DC power source) in a car, boat or other vehicle equipped with a suitable battery.
Speak with your Authorised ResMed Distributor to find portable power option for your travels with AirMini.
Yes. AirMini has two humidification options - HumidX™ and HumidX Plus. They are waterless solutions designed to help keep your therapy comfortable.
AirMini works with the following masks:
AirFit P10 for AirMini, AirFit N20, AirFit F20, AirFit N30, AirTouch F20
Your Authorised ResMed Distributor can tell you what you need to do to set up your ResMed mask with AirMini.
The Authorised ResMed Distributor (where you purchased your AirMini) is responsible for providing you with ongoing clinical support, including answering any questions and helping you resolve any issues that you may be experiencing with your AirMini device or settings.
Not sure who your Authorised ResMed Distributor is? We can help. Fill out the form above or simply use our Chat Bot.
Please contact your Authorised ResMed Distributor to discuss your options for compliance reporting.

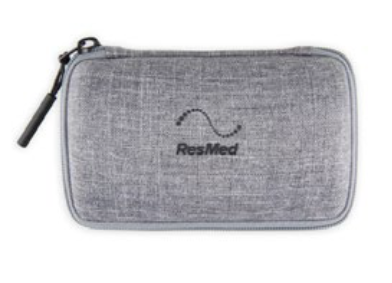
AirMini™ travel case
AirMini™ DC converter
HumidX™ & HumidX Plus 6-Packs
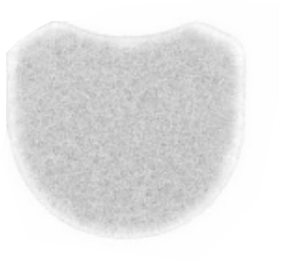
AirMini™ filter