


Our products are designed to make travelling easy. Here are some useful tips.
Show me the way to...
![]()
txt
Show me the way to...
![]()
Item code: 63524, 63525. For her: 63523
.png?width=400&height=370&name=mask_blue%20(2).png)
Item code: 63420, 63421, 63422. For her: 63423, 63424
.png?width=400&height=370&name=mask_violet%20(1).png)
These instructions are for general information purpose only. For full details consult the user guide.
These instructions are for general information purpose only. For full details consult the user guide.
These instructions are for general information purpose only. For full details consult the user guide.
Our products are designed to make travelling easy. Here are some useful tips.
.jpg?width=400&height=250&name=image%20(1).jpg)
Starting therapy can seem daunting. Let us help you get started with the right frame of mind.
ResMed offers a range of accessories and spare parts for our sleep apnea therapy and CPAP masks, devices and humidifiers.
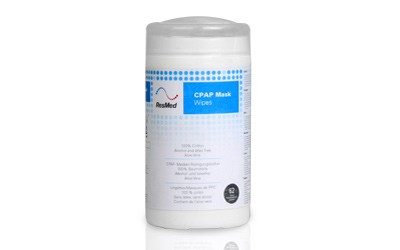
ResMed CPAP Mask Wipes are a fast and easy cleaning solution for any CPAP mask.
More information…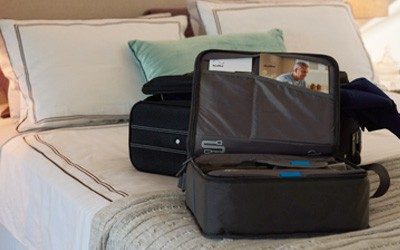
Our products are designed to make travelling easy. Here are some useful tips.

If you have any questions regarding warranty information on our masks, please contact your local customer service team.
Get on the right track with your sleep therapy.
The how, what, where and why…
What does therapy do for you…
Some helpful tips…
This webpage content is intended for Healthcare Professionals only, not for general public.
The content available through this website is for informational and educational purposes only and is not a substitute for the professional judgment of a health care professional in diagnosing and treating patients. ResMed does not give medical advice, nor does it provide medical or diagnostic services. Always seek the advice of a physician or other qualified health provider with any questions you may have regarding a medical condition. Never disregard professional medical advice or delay in seeking it because of something you have seen or read on this Website. For more information, please refer to our Terms of Use.
©2000-2019 ResMed. All rights reserved.