
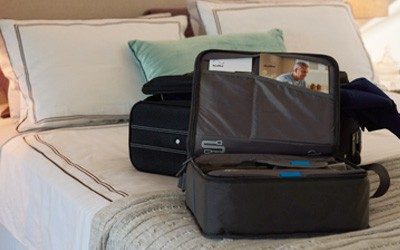
Our products are designed to make travelling easy. Here are some useful tips.
Show me the way to...
![]()
txt
Show me the way to...
![]()


.png?width=400&height=370&name=mask_violet%20(1).png)
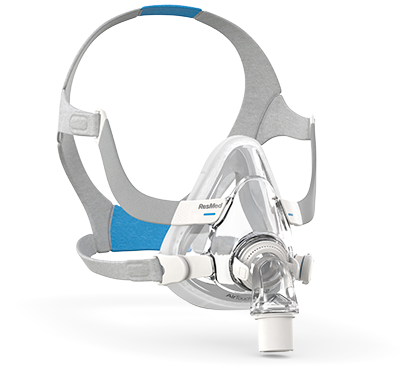
Select model:


Our products are designed to make travelling easy. Here are some useful tips.

If you have any questions regarding warranty information on our masks, please contact your local customer service team.
Our products are designed to make travelling easy. Here are some useful tips.
If you have any questions regarding warranty information on our masks, please contact your local customer service team.
ResMed offers a range of accessories and spare parts for our sleep apnea therapy and CPAP masks, devices and humidifiers.
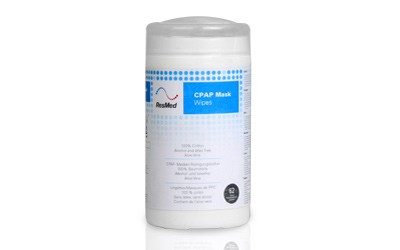
ResMed CPAP Mask Wipes are a fast and easy cleaning solution for any CPAP mask.
More information…
Our products are designed to make travelling easy. Here are some useful tips.
If you have any questions regarding warranty information on our masks, please contact your local customer service team.