Show me the way to...
![]()
txt
Show me the way to...
![]()


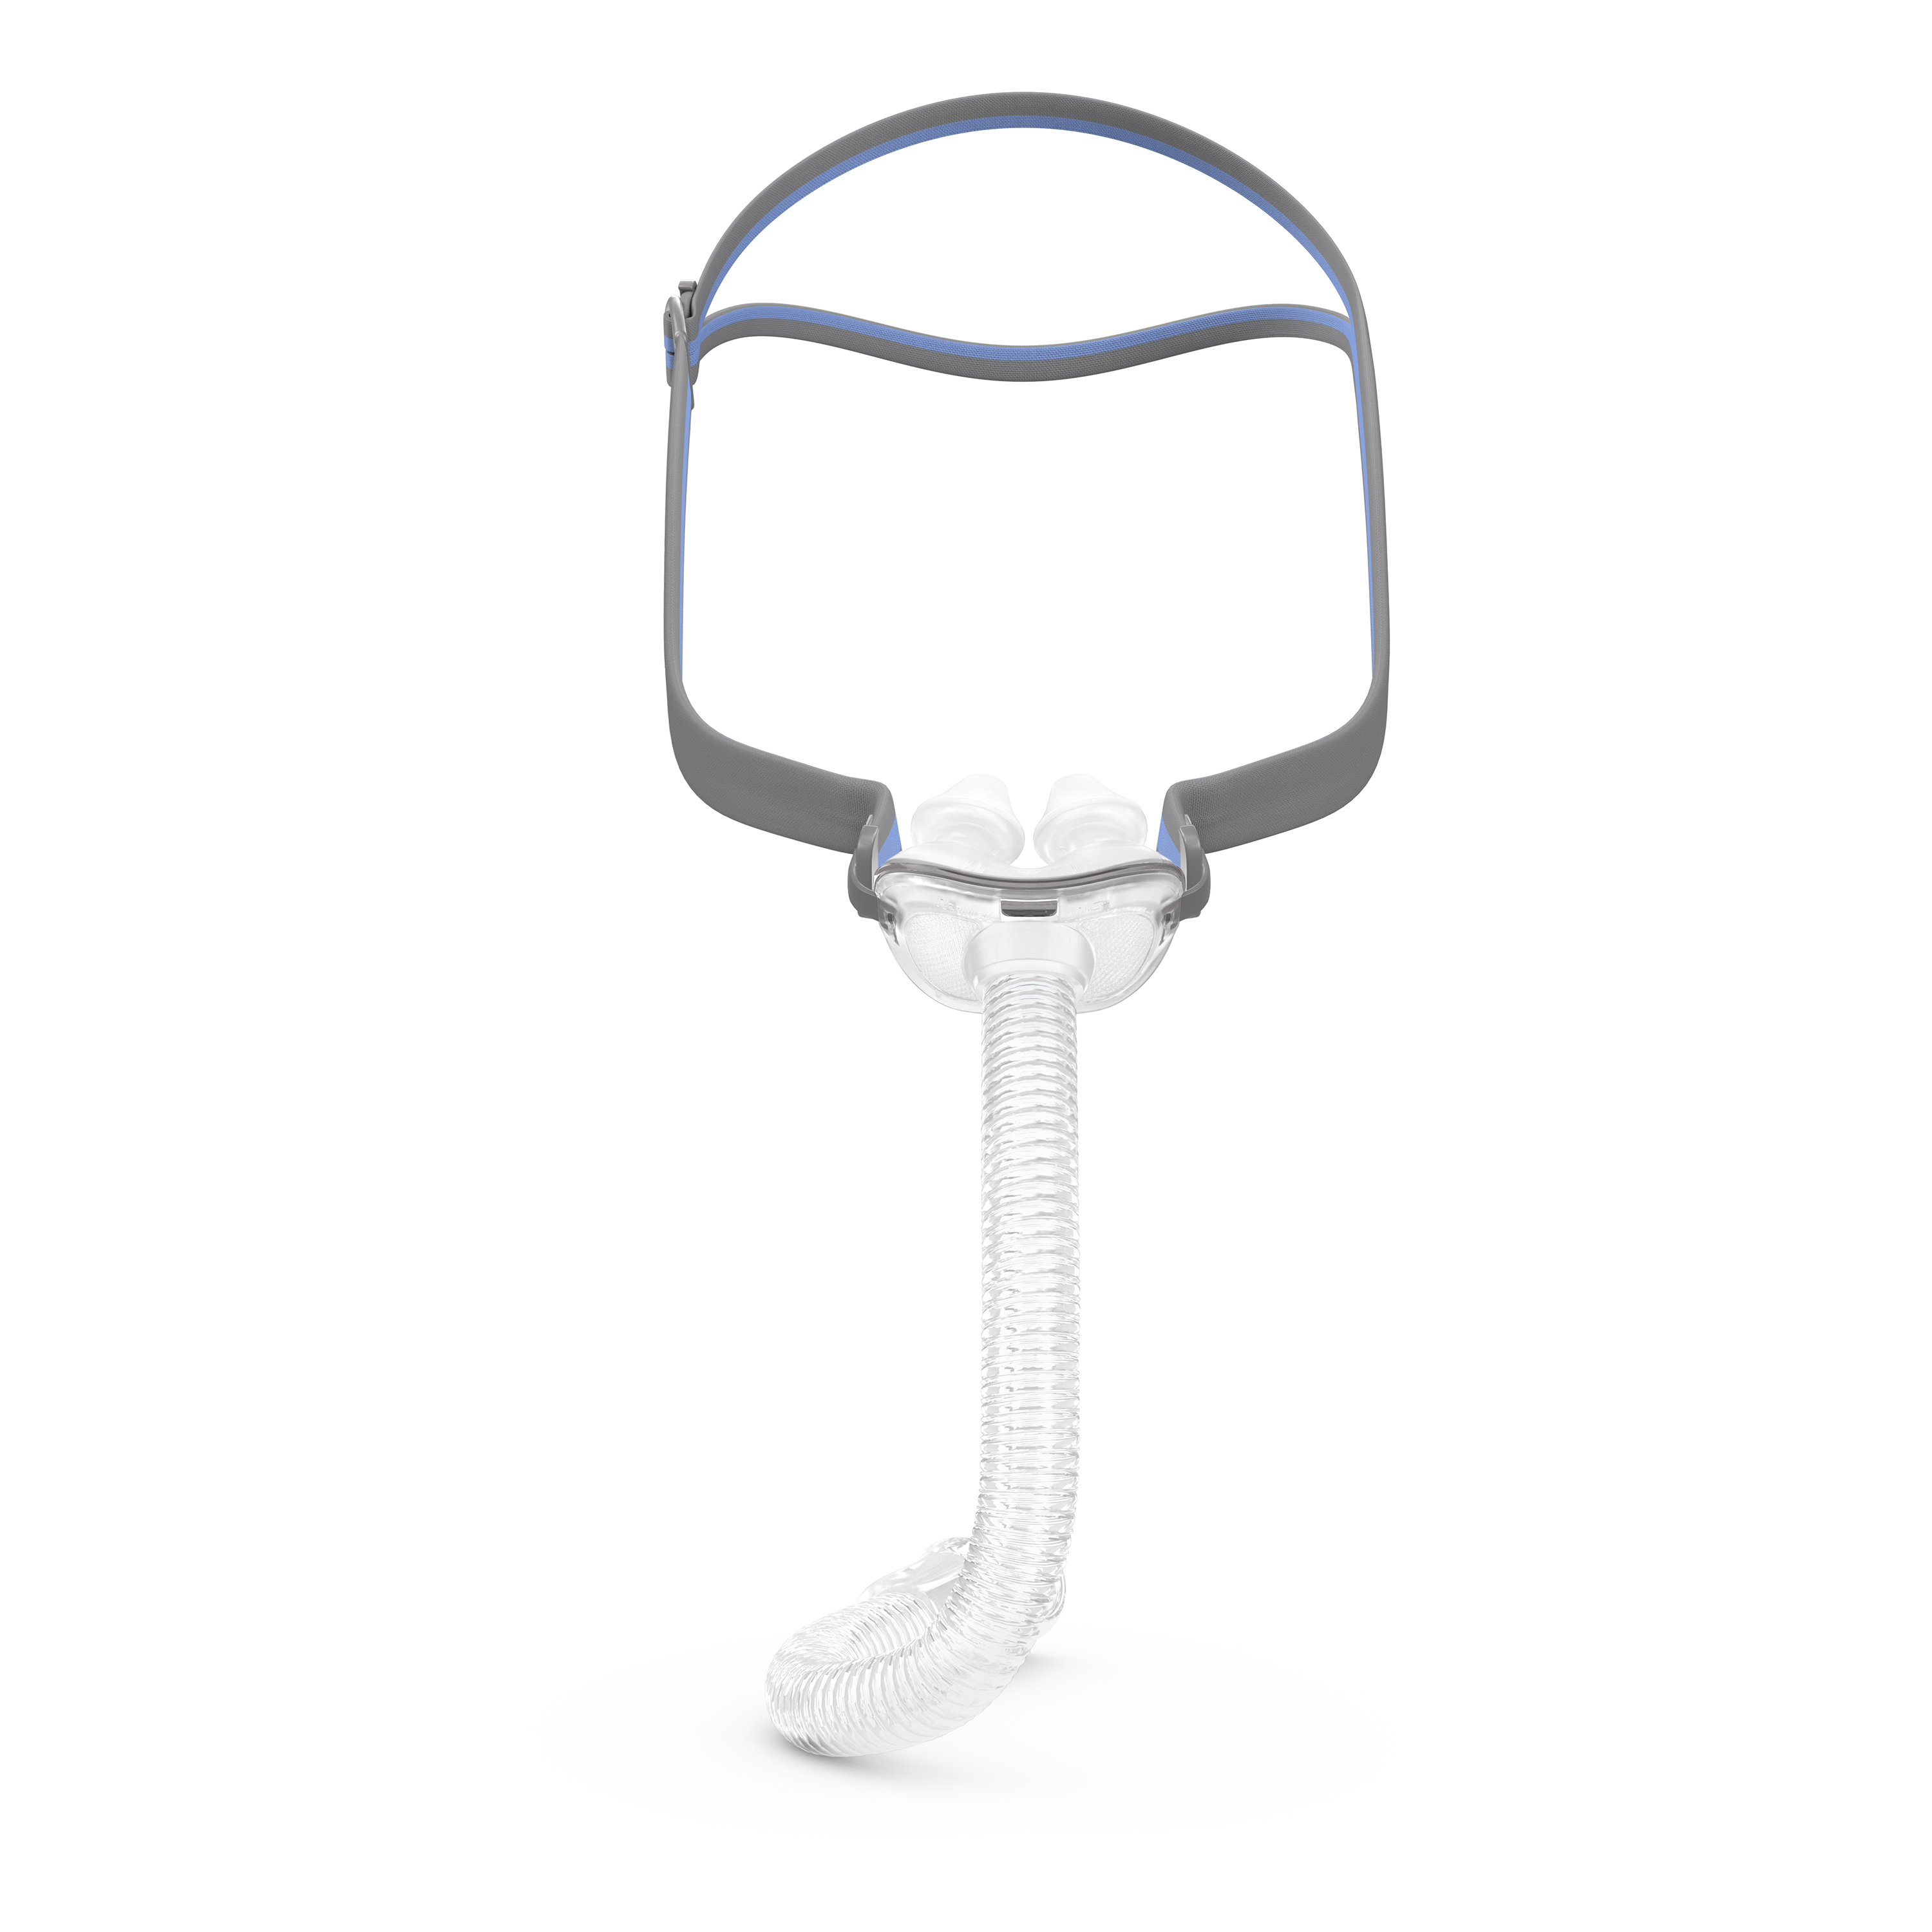
AirFit P10 for AirMini combined with AirMini represents ResMed’s smallest sleep therapy system. The mask’s compact, under-the-nose frame and split-strap headgear are designed to help patients fit themselves. With just 4 parts and intuitive click-in cushion design, it’s built to be easy to fit, clean, assemble and help make your mask experience close to effortless.
Step 1: Included with your mask are three sizes of nasal pillows. If your clinician or medical provider has not recommended a size, you’ll need to try each of these on.
Step 2: To remove the pillows from the mask frame, hold the hard top above the mask tube, and then squeeze and pull the pillows out.
Step 3: To insert the pillows into the mask frame, simply press them in until the top and bottom clips click together.
Step 4: Fit your mask according to the instructions in the user guide.
Step 5: Change pillow sizes and put your mask on as many .times as necessary until you find the size that feels the most comfortable.
Step 1: Pick up the mask and ensure the labelled left.and right nasal pillows are positioned to match your left and right nostrils.
Step 2: Hold the nasal pillows against your nostrils.with one hand, and pull the headgear strap over the back of your head with the other.
Step 3: Split open the top half of the headgear, so that.the lower strap sits at your back of your head while the top strap rests on your crown.
Step 4: You can readjust the pillows by pulling briefly on the mask away from your nose to reseat them and ensure they’re upright.
Step 5: Once pillows and straps are secure and comfortable, you’re ready to start therapy.
Step 1. If the headgear seems too large, headgear clips are available to help you adjust the length of the split-strap for a better fit.
Step 2. Attach the clips by threading either the lower or upper headgear strap through its opening.
Step 3. Try the headgear on, and adjust the strap length with the clips until it iscomfortable. For a tighter fit, shorten the straps. For a looser fit, lengthen the straps.
Step 1. The headgear is designed to split open into a lower and an upper strap.
Step 2. When the headgear is on, it should not be wrapped only behind your head. If it is, bring the top half up so that it sits on your crown.
Step 3. When the headgear is on, it should not be resting only on your crown. If it is, pull the lower strap down to the back of your head.
Step 4. Ensure that the headgear is not tangled or twisted.


Step 1. Take the mask apart into its main component parts, namely the nasal pillows, frame
and mask tube. The HumidX cannot be washed. Set aside the HumidX in a clean, dry location.
Step 2. Gently rub each part in warm water (~30°C or 86°F) and mild liquid detergent until clean, paying attention to the pillows and its small openings.
Step 3. Rinse well under running water and allow to air dry out of direct sunlight.
Step 1. Take the mask apart into its main components parts, namely the frame, mask tube and the fabric headgear. The HumidX cannot be washed. Set aside the HumidX in a clean, dry location.
Step 2. Gently scrub the frame and its elbow area in warm water (~30°C or 86°F) and mild
liquid detergent with a soft bristle brush.
Step 3. Rub and squeeze the headgear in warm water (~30°C or 86°F) and mild liquid detergent until clean.
Step 4. Rinse both the headgear and frame under running water until the water is clear.
Ensure you also squeeze the headgear while rinsing.
Step 5. Allow both to air dry out of direct sunlight.
ResMed recommend regulary replacing your components to ensure optimum mask performance.
Every 6 months*
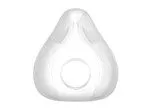
Cushion
Every 6 months*
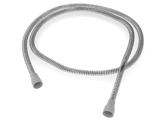
Tubing
Every 12 months*
Headgear
*Replacement cycles may vary depending on your insurance—contact your ResMed representative for more information.
Step 1. While therapy is running, place your fingers around the upper and lower areas, where the mask seals to the face, to check if air is escaping.
Step 2. If there are leaks, try adjusting the headgear to help with mask fit. Simply spread them apart to loosen and draw them together to tighten.
Step 3. You can also readjust the pillows by pulling briefly on the mask away from your nose to reseat them.
Step 4. Once the mask is secure and comfortable, you’re ready to start therapy.
Note: When the device is running, a light breeze should be felt at the base of the vent module, but there should be no other areas of air leak. If leak occurs or continues, try refitting the cushion into the frame.
Step 1. First disconnect the air tube by twisting it away from the vent module.
Step 2. To disconnect the vent module from the AirMini tubing, simply hold them in opposite hands and twist them away from each other. If HumidX or HumidX Plus was used, remove this.
Step 3. To remove the pillows, hold the hard top above the mask tube, and then squeeze and pull the pillows out.
Step 4. To take the headgear off, pull at the fabric’s bottom end (just behind the headgear node) to find a small opening.
Step 5. You can pull the fabric up and slide it out of each arm of the frame.
Step 1. Thread each arm of the frame through the fabric openings in the headgear so that the gray side faces out and colored side faces in.
Step 2. Ensure the headgear is secured by pulling the fabric over the bottom edge of each headgear node.
Step 3. Insert the pillows into the mask frame by pressing it in until the top and bottom clips click together.
Step 4. If waterless humidification is used, simply place the HumidX or HumidX Plus into the vent module.
Step 5. Connect the AirMini tubing to the vent module by pushing their ends together and turn until they click into place.
Step 6. Lastly, connect the air tube by twisting it into the bottom of the vent module.
Step 1. Before each therapy session, check to ensure that the inner walls of one or both pillows are not out of shape, compressed or collapsed.
Step 2. To correct any misshapen pillows, lightly squeeze the sides to release the pressure and they should spring back to shape.
ResMed recommend regulary replacing your components to ensure optimum mask performance.
Every 6 months*
Cushion
Every 6 months*
Tubing
Every 12 months*
Headgear
* *Replacement cycles may vary depending on your insurance—contact your ResMed representative for more information.
Contact your representative

